


 BESTSELLERS
 NEW ARRIVALS
 SALE
SALE


 Colors


 Materials


 Brands


 Themes


 BESTSELLERS
 NEW ARRIVALS


 BESTSELLERS
 NEW ARRIVALS
 DIRECTLY AVAILABLE
 SALE
SALE


 BESTSELLERS
 NEW ARRIVALS


 Little Greene verf
 Colours of England verfcollectie
 Colour Scales verfcollectie
 Sweet Treats verfcollectie
 RAL kleuren verf


Hanging wallpaper yourself: tips & tricks
Step-by-step guide and maintenance for installing wallpaper
Skill levels per material
Whether you choose to hang the wallpaper yourself or have it done by a professional, we have compiled the tips below and handy instruction videos.
PLEASE NOTE: How you or a third party handle and install the product determines the end result. A disappointing end result is never covered by the warranty on the product itself. Please take this into account beforehand and discuss it with your specialist.
Installation per wallpaper type
Installing non-woven wallpaper – Pasting the wall
Materials
Primer
Non-woven wallpaper adhesive (heavy duty)
Tools
Paste roller & paste tray
Brush / seam roller
Sharp knife & straight edge
Spirit level/laser
Sponge/bucket
Step-by-step guide
- Check the wallpaper immediately on arrival.
- Make sure the surface is completely smooth, dry and dust-free. Prime with primer.
- Check the symbols on the wallpaper for special instructions.
- Draw a plumb guideline 50–60 cm from the corner — never start directly in the corner and take the pattern into account, plan your lengths carefully.
- Cut or trim the lengths to size with a 5–10 cm margin.
- Apply adhesive evenly to the wall (no dry spots).
- Place the first length along the guideline; smooth out any air; butt the seams.
- Trim the top/bottom cleanly; remove excess adhesive immediately and roll the seams afterwards.
- Leave to dry for 24 hours at 18–22 °C; avoid draught/moisture.
Maintenance
Non-woven wallpaper is strong, durable and easy to maintain. Thanks to the stable non-woven backing, the wallpaper stays nice and taut on the wall and is well able to withstand light cleaning.
Light stains: Dab gently with a lightly damp sponge or microfibre cloth. Do not use abrasive products or cleaning agents.
Washable variants: Some types of non-woven wallpaper have an extra protective layer. Always check the symbol on the roll or packaging.
Non-woven wallpaper is low-maintenance and stays beautiful for years with minimal effort.
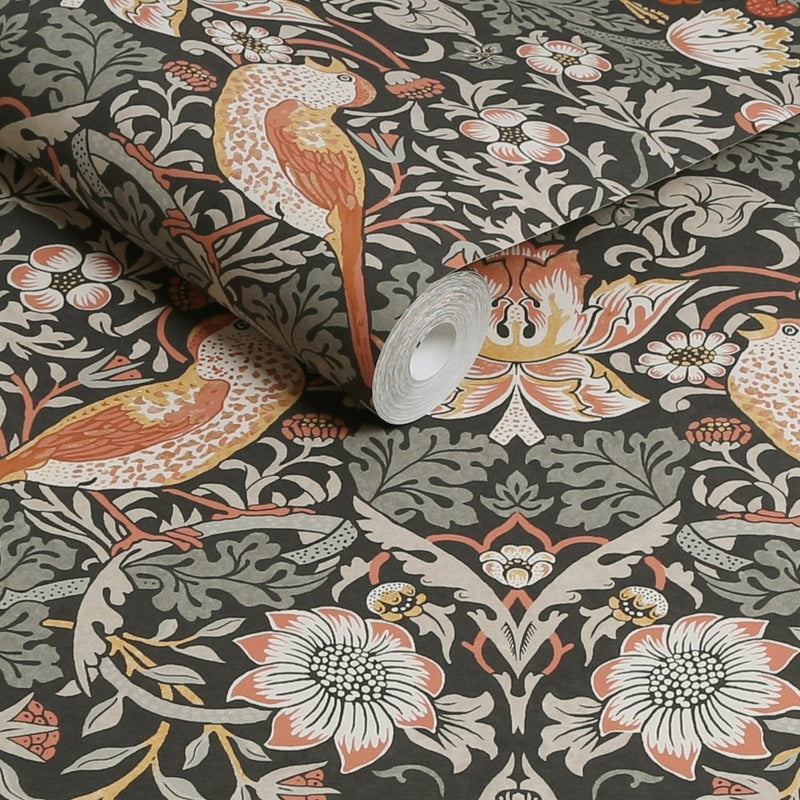
Installing paper wallpaper – Pasting the lengths
Materials
Paper/non-woven wallpaper adhesive
Tools
Pasting table
Paste roller & paste tray
Brush / seam roller
Sharp knife & straight edge
Spirit level/laser
Sponge/bucket
Step-by-step guide
- Check the wallpaper immediately on arrival.
- Make sure the surface is completely smooth, dry and dust-free. Prime with primer.
- Check the symbols on the wallpaper for special instructions.
- Draw a plumb guideline 50–60 cm from the corner – never start directly in the corner.
- Make a layout plan if the wallpaper has a pattern, so that the design matches up neatly.
- Cut or trim the lengths to size with a 5–10 cm margin.
- Apply the adhesive evenly to the back of the wallpaper and fold the length in on itself with the pasted sides together.
- Leave the wallpaper to soak for the indicated time (usually 5–10 minutes) – this way the paper expands evenly.
- Place the first length along the guideline and press it down gently with a brush from the centre outwards.
- Butt the seams, do not overlap.
- Trim the top/bottom cleanly; remove excess adhesive immediately with a lightly damp sponge.
- Leave to dry for 24 hours at 18–22 °C; avoid draught/moisture.
Maintenance
Paper wallpaper is a classic, natural product and requires careful handling. Because it consists entirely of paper, it is more sensitive to moisture and stains than more modern types of wallpaper such as non-woven or vinyl wallpaper. With the right care, however, it stays beautiful and authentic for years.
Dust regularly: Remove dust with a feather duster or a soft, dry cloth. Avoid hard brushes or vacuum cleaners with a brush attachment, which can damage the surface.
Avoid water and cleaning agents: Paper wallpaper is not washable. Never clean it with a damp cloth or sponge; moisture can lead to stains, bubbles or the wallpaper coming loose.
Prevent stains: Do not touch the wall with damp hands or liquids. Do not place furniture or lamps too close to the wall to prevent scuffing and shiny spots.
Air circulation: Ensure sufficient ventilation in the room to prevent temperature fluctuations and moisture build-up. This helps keep the paper nice and taut.
With a stable indoor climate, paper wallpaper retains its charm and texture for years. This keeps the wall fresh and lively without losing its authentic look.
Installing vinyl on paper wallpaper – Pasting the lengths
Materials
Primer
Paper/vinyl wallpaper adhesive
Tools
Pasting table
Paste roller & paste tray
Brush / seam roller
Sharp knife & straight edge
Spirit level/laser
Sponge/bucket
Step-by-step guide
- Check the wallpaper immediately on arrival.
- Make sure the surface is completely smooth, dry and dust-free. Prime with primer.
- Check the symbols on the wallpaper for special instructions.
- Draw a plumb guideline 50–60 cm from the corner — never start directly in the corner and take the pattern into account, plan your lengths carefully.
- Cut or trim the lengths to size with a 5–10 cm margin.
- Apply the adhesive evenly to the back of the wallpaper and fold the length in on itself with the pasted sides together.
- Leave the wallpaper to soak for the indicated time (usually 5–10 minutes) – this way the paper expands evenly.
- Trim the top/bottom cleanly; remove excess adhesive immediately and roll the seams afterwards.
- Leave to dry for 24 hours at 18–22 °C; avoid draught/moisture.
Maintenance
Vinyl wallpaper is strong, durable and easy to maintain. The surface is water-repellent, which makes it ideal for rooms that are used intensively, such as hallways, kitchens and bathrooms (dry areas).
Removing stains: Use a lightly damp sponge with lukewarm water. Avoid cleaning agents or abrasive sponges.
Protecting seams: Never rub firmly over seams or edges — this can affect the top layer and cause polishing marks.
Moisture and ventilation: Ensure sufficient ventilation in damp rooms to prevent mould forming behind the wallpaper.
Vinyl wallpaper retains its colour and texture for years provided it is maintained correctly. Thanks to the strong top layer, the surface stays beautiful.
Installing vinyl on paper wallpaper – Pasting the wall (Alternative method)
Materials
Primer
Paper/vinyl wallpaper adhesive
Clean water (to dampen the lengths)
Tools
Pasting table
Paste roller & paste tray
Brush / seam roller
Sharp knife & straight edge
Spirit level/laser
Sponge/bucket
Plant sprayer or mister
Step-by-step guide
- Check the wallpaper immediately on arrival.
- Make sure the surface is completely smooth, dry and dust-free. Prime with primer (on absorbent/powdery walls).
- Check the symbols on the wallpaper for special instructions.
- Draw a plumb guideline 50–60 cm from the corner — never start directly in the corner and take the pattern into account, plan your lengths carefully.
- Cut or trim the lengths to size with a 5–10 cm margin.
- Dampen the lengths evenly with clean water; respect the indicated soaking time.
- Apply wallpaper adhesive evenly to the wall (no dry spots).
- Place the first length along the guideline; smooth out any air; butt the seams.
- Trim the top/bottom cleanly; remove excess adhesive immediately and roll the seams afterwards.
- Leave to dry for 24 hours at 18–22 °C; avoid draught/moisture.
Maintenance
Vinyl wallpaper is strong, durable and easy to maintain. The surface is water-repellent, which makes it ideal for rooms that are used intensively, such as hallways, kitchens and bathrooms (dry areas).
Removing stains: Use a lightly damp sponge with lukewarm water. Avoid cleaning agents or abrasive sponges.
Protecting seams: Never rub firmly over seams or edges — this can affect the top layer and cause polishing marks.
Moisture and ventilation: Ensure sufficient ventilation in damp rooms to prevent mould forming behind the wallpaper.
Vinyl wallpaper retains its colour and texture for years provided it is maintained correctly. Thanks to the strong top layer, the surface stays beautiful.
Installing acoustic wallpaper – Pasting the wall
Materials
Primer
Heavy Duty wallpaper adhesive - > Arte Clearpro combined with Clearpro Extreme or Vescom V2000 combined with V3000.
Tools
Paste roller & paste tray
Brush / seam roller
Sharp knife & straight edge
Spirit level/laser
Sponge/bucket
Step-by-step guide
- Check the wallpaper immediately on arrival.
- Make sure the surface is completely smooth, dry and dust-free. Prime with primer (on absorbent/powdery walls).
- Check the symbols on the wallpaper for special instructions.
- Determine the layout plan for patterned wallpaper, so that the motif runs on nicely and comes out symmetrically on visible walls.
- Draw a plumb guideline 50–60 cm from the corner — never start directly in the corner.
- Cut or trim the lengths to size with a 5–10 cm margin.
- Apply wallpaper adhesive evenly to the wall (no dry spots).
- Place the first length along the guideline; press firmly and smooth out air bubbles with a soft roller.
- Butt the seams, do not overlap, and never let a seam come out exactly in an internal corner — always move it +/- 20 cm along for a clean result.
- Trim the top and bottom cleanly; remove excess adhesive immediately with a lightly damp cloth.
- Leave to dry for 24 hours at 18–22 °C; avoid draught/moisture.
For external corners, use Arte Clearpro Extreme or V3000 adhesive for extra holding power.
Maintenance
Acoustic wallpaper is designed to absorb sound while giving the room a luxurious, soft appearance. Thanks to its textile or felt-like structure, maintenance is easy, but it does require some care.
Maintenance: Use a feather duster, a vacuum cleaner with a soft brush attachment or a lint roller to remove dust and small particles of dirt. Some acoustic wall coverings have a protective top layer; in that case you can wipe the wallpaper with a lightly damp cloth.
Removing stains: Dab gently with a lightly damp cloth. Do not use cleaning agents or a lot of water.
Avoid scrubbing: Do not rub over the fabric or seams; this can loosen fibres or cause differences in sheen.
Acoustic wallpaper stays beautiful and effective for years if it is kept dust-free regularly and handled carefully. This way it retains both its sound-dampening properties and its luxurious appearance.
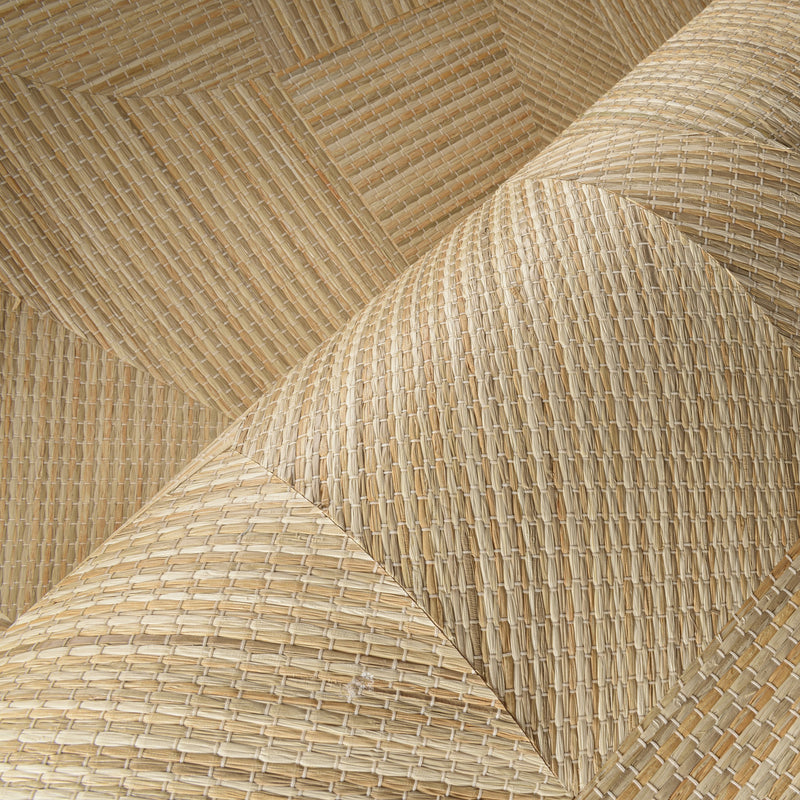
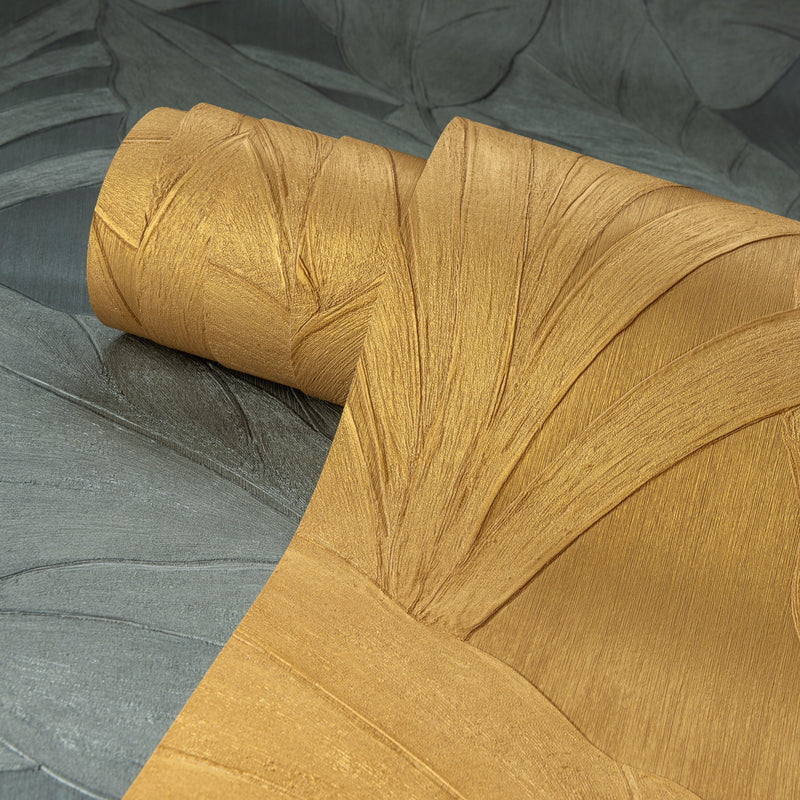
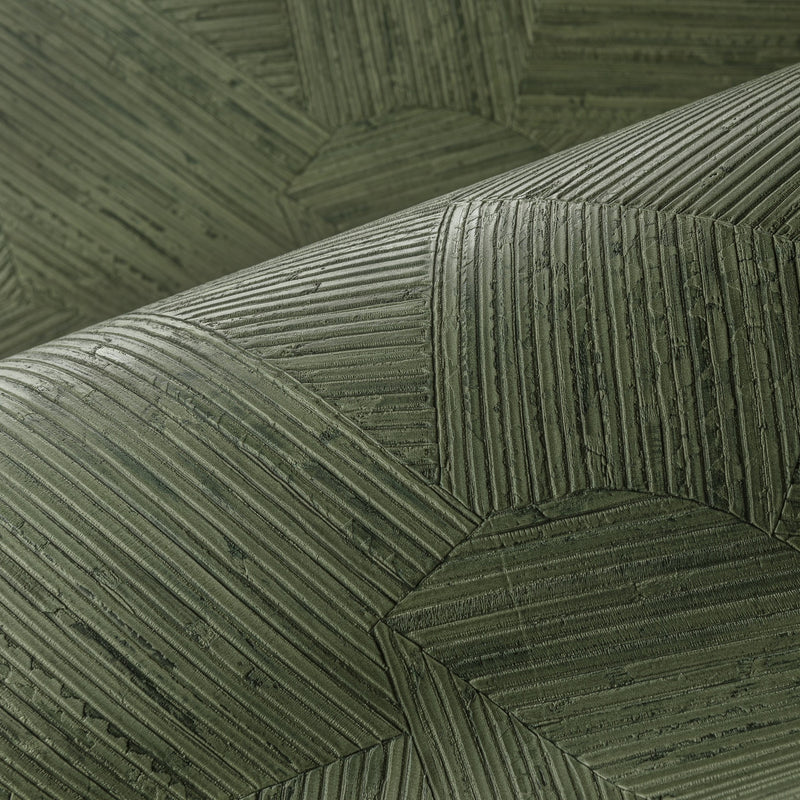
Installing natural wallpaper – Pasting the wall
Materials
Primer
Heavy Duty wallpaper adhesive such as Arte Clearpro
Clean water (if needed to dampen the lengths further)
Tools
Pasting table
Paste roller & paste tray
Brush / seam roller
Sharp knife & straight edge
Spirit level/laser
Sponge/bucket
Plant sprayer or mister
Step-by-step guide
- Check the wallpaper immediately on arrival.
- Make sure the surface is completely smooth, dry and dust-free. Prime with primer (on absorbent/powdery walls).
- Check the symbols on the wallpaper for special instructions.
- Make a layout plan so that the natural flow and the direction of the fibres match up nicely. Take the seams (panel effect) into account so that the seams are nicely distributed across the wall.
- Draw a plumb guideline 50–60 cm from the corner — never start directly in the corner.
- Cut or trim the lengths to size with a 5–10 cm margin.
- Is the wallpaper very stiff or thick? Lightly dampen the back with clean water and let it soak in briefly – this makes the material more supple and easier to handle.
- Apply wallpaper adhesive evenly to the wall (no dry spots).
- Place the first length along the guideline; press gently without rubbing or scuffing the surface.
- Butt the seams, do not overlap, and never let a seam come out exactly in an internal corner
- Trim the top/bottom cleanly with a sharp knife; remove excess adhesive immediately with a dry cloth; moisture can cause stains.
- Leave to dry for 24 hours at 18–22 °C; avoid draught/moisture.
Maintenance
Natural wallpaper, such as sisal, raffia, jute or grasscloth, requires careful handling. These natural materials are sensitive to moisture, sunlight and stains, but stay beautiful for years with the right maintenance.
Dust regularly: Remove dust with a feather duster or a soft, dry cloth. Do not use a damp cloth or cleaning agent.
Avoid water and cleaning agents: Natural wallpaper is not washable; moisture can cause stains or make fibres swell.
Ventilation: Ensure a well-ventilated room to prevent moisture build-up.
Sunlight: Avoid prolonged exposure to direct sunlight to prevent discolouration.
Protection: Place furniture and accessories with care – sharp edges can damage the surface.
With minimal care, natural wallpaper retains its characteristic, warm appearance for years.
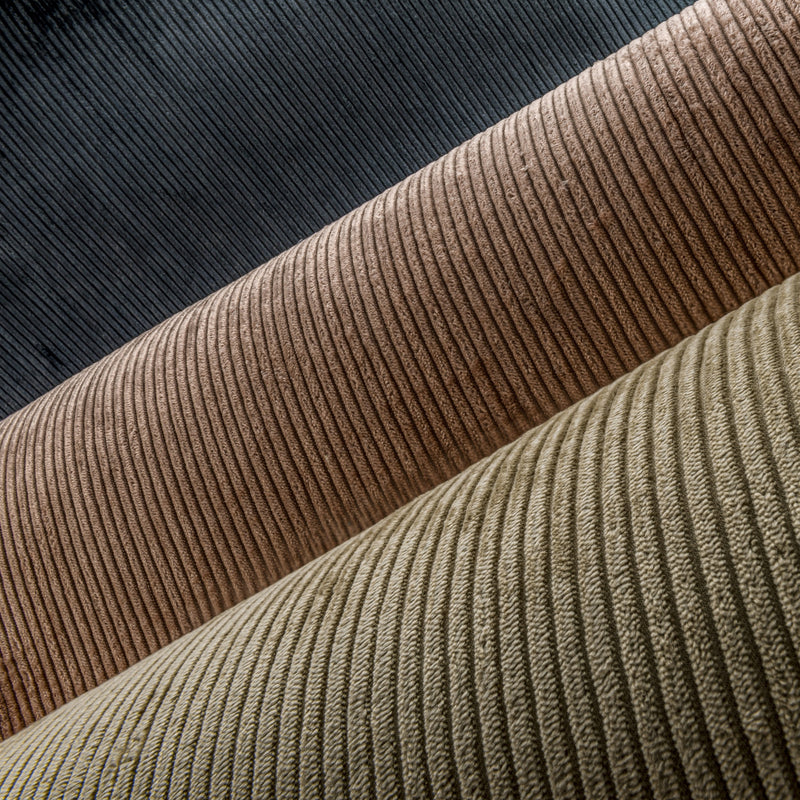
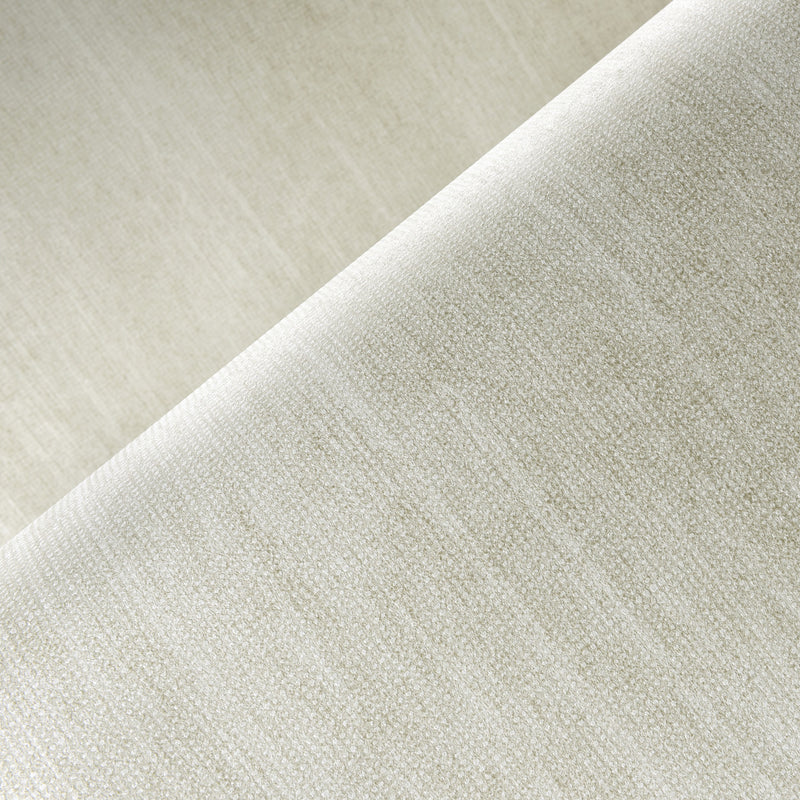
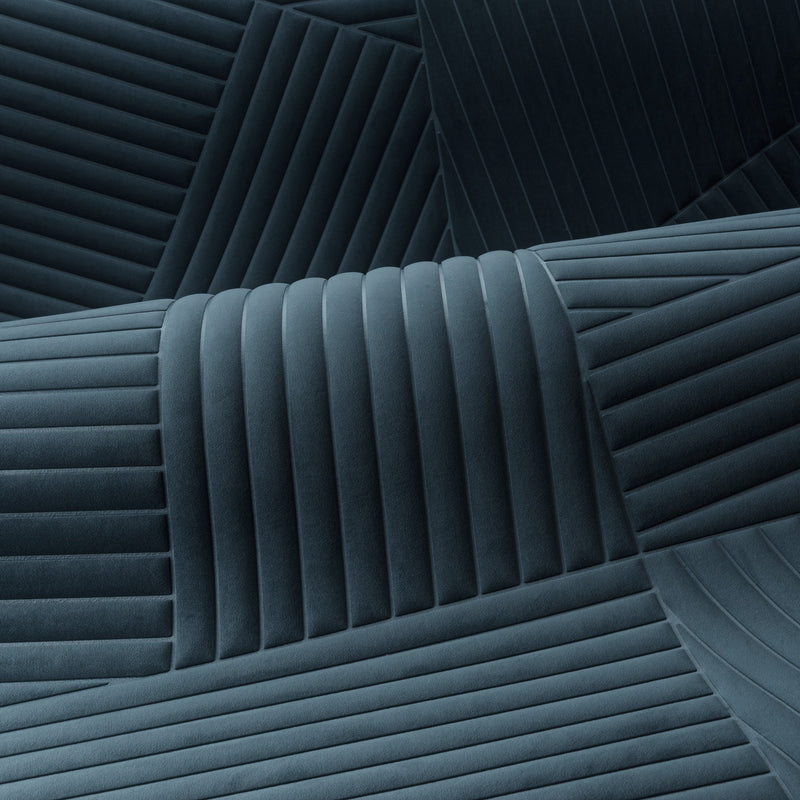
Installing textile wallpaper – Pasting the wall
Materials
Primer
Heavy Duty wallpaper adhesive such as Arte Clearpro
Clean water (if needed to dampen the lengths further)
Tools
Paste roller & paste tray
Brush / seam roller
Sharp knife & straight edge
Spirit level/laser
Sponge/bucket
Step-by-step guide
- Check the wallpaper immediately on arrival.
- Make sure the surface is completely smooth, dry and dust-free. Prime with primer (on absorbent/powdery walls).
- Check the symbols on the wallpaper for special instructions.
- Make a layout plan so that the seams are nicely distributed across the wall.
- Draw a plumb guideline 50–60 cm from the corner — never start directly in the corner.
- Cut or trim the lengths to size with a 5–10 cm margin.
- Is the wallpaper very stiff or thick? Lightly dampen the back with clean water and let it soak in briefly – this makes the material more supple and easier to handle.
- Apply wallpaper adhesive evenly to the wall (no dry spots).
- Place the first length along the guideline; press down gently and smooth out air bubbles from the centre outwards.
- Butt the seams (unless indicated otherwise), do not overlap, and never let a seam come out exactly in an internal corner
- Trim the top/bottom cleanly with a sharp knife; remove excess adhesive immediately with a dry cloth; moisture can cause stains.
- Leave to dry for 24 hours at 18–22 °C; avoid draught, moisture and direct sunlight.
Maintenance
Textile wallpaper is a luxurious wall finish that feels soft and creates a warm, elegant atmosphere.
Dust regularly: Use a feather duster, a vacuum cleaner with a soft brush attachment or a dry microfibre cloth.
Do not use moisture: Textile wallpaper is not washable. Water or cleaning agents can cause stains and discolouration.
Removing stains: Dab very gently with a dry cloth. Never rub — this can cause differences in sheen or damage fibres.
Ventilation: Ensure a well-ventilated room to prevent moisture build-up.
Protection against sunlight: Avoid prolonged exposure to direct sunlight; this prevents discolouration or weakening of the fabric.
With regular, dry cleaning, textile wallpaper retains its refined appearance for years and the fabric stays nicely even and soft in texture.
Frequently asked installation questions
Important: always read the installation instructions supplied with the wallpaper carefully.
Which adhesive do I use for non-woven wallpaper?
Use non-woven wallpaper adhesive such as Arte Clearpro. On absorbent/powdery walls, prime first.
May a seam come out in an internal corner?
No. Corners are rarely 100% square. By carrying a seam 50 to 60 cm around the corner, you prevent the wallpaper from coming loose or gaping visibly.
Can I hang wallpaper over latex/painted walls?
Yes, provided the surface is clean, dry, sound and even. Degrease, lightly sand, and if in doubt use a primer for better adhesion.
Why not start hanging wallpaper in the corner?
Because corners are often not straight. If you start there, your length can run crooked and visible deviations occur. By starting 50–60 cm out from the corner with a guideline, you prevent crooked lengths and achieve a neat join.
What is a layout plan and why is it important?
With patterned wallpaper or natural/textile wallpaper, you decide in advance how the design is distributed across the wall. This ensures that the pattern comes out nicely in visible places and does not partly disappear into a corner. For natural/textile wallpaper it is also important, so that your seams are nicely distributed across the wall. This gives a calm appearance.
What temperature and humidity are ideal while hanging wallpaper?
Work at 18–22 °C and around 40–60% RH. Avoid draught and direct sun/heating. Close windows/doors while pasting and leave to dry for 24 hours.
No pattern?
With plain wallpaper you do not need to match a pattern, but do pay attention to direction/texture and the incidence of light. Do not reverse the lengths.
How do I remove wallpaper?
Wet the wallpaper with warm water (with a stripping agent if necessary) and let it soak in. Pull it loose with a putty knife. Non-woven wallpaper is often strippable dry, depending on the type/surface.
Not sure? Get in touch with us!
Ready to get started?
First calculate how much wallpaper you need, or preview a design in your own room with the Wallpaper Room Visualizer.