





How to hang wallpaper: a DIY guide with tips from the trade
Installation steps, adhesive advice and care for every wallpaper type
Skill level by wallpaper type
Planning to hang the wallpaper yourself, or bringing in a local paperhanger? Below you'll find our installation tips and short how-to videos for both routes.
Good to know: How the wallpaper is handled and installed, by you or by a paperhanger you hire, decides how it turns out. The product warranty never covers a result that falls short of expectations. Weigh this up before you start and talk it over with your paperhanger.
How to install each type of wallpaper
Hanging nonwoven wallpaper: the paste-the-wall method
Supplies
Wallpaper primer
Heavy-duty adhesive made for nonwoven wallpaper
Tool kit
Paste roller and roller tray
Smoothing brush / seam roller
Utility knife with snap-off blades and a straightedge
Level or laser level
Sponge and a bucket of clean water
How to hang it
- Unpack and inspect the wallpaper the day it arrives.
- Get the wall smooth and dry, and wipe away all dust. Turn off the power, take off switch plates and outlet covers, then roll on a coat of wallpaper primer.
- Look at the symbols on the label for any special instructions.
- Mark a plumb line at least 4 in out from the corner. Never begin right in the corner; check where the pattern will fall and plan every strip before you cut.
- Cut the strips to length, leaving an extra 2–4 in at the top and bottom.
- Roll the adhesive onto the wall in an even coat, leaving no dry patches.
- Hang the first strip against the plumb line, push out any trapped air and butt each seam tight against the previous strip.
- Trim the excess cleanly at the ceiling or crown molding and along the baseboard. Wipe off stray adhesive right away, then go over the seams with a seam roller.
- Allow 24 hours to dry at 64–72 °F, with no drafts and no excess humidity.
Care and cleaning
Nonwoven wallpaper holds up well and needs very little upkeep. Its stable nonwoven backing keeps the paper flat and taut on the wall, so it copes fine with light cleaning.
Minor marks: Blot gently with a barely damp sponge or a microfiber cloth. Skip abrasive pads and household cleaners.
Washable versions: Some nonwoven papers carry an extra protective coating. Check the care symbol on the roll or the packaging to be sure.
With hardly any effort, nonwoven wallpaper keeps looking good for many years.
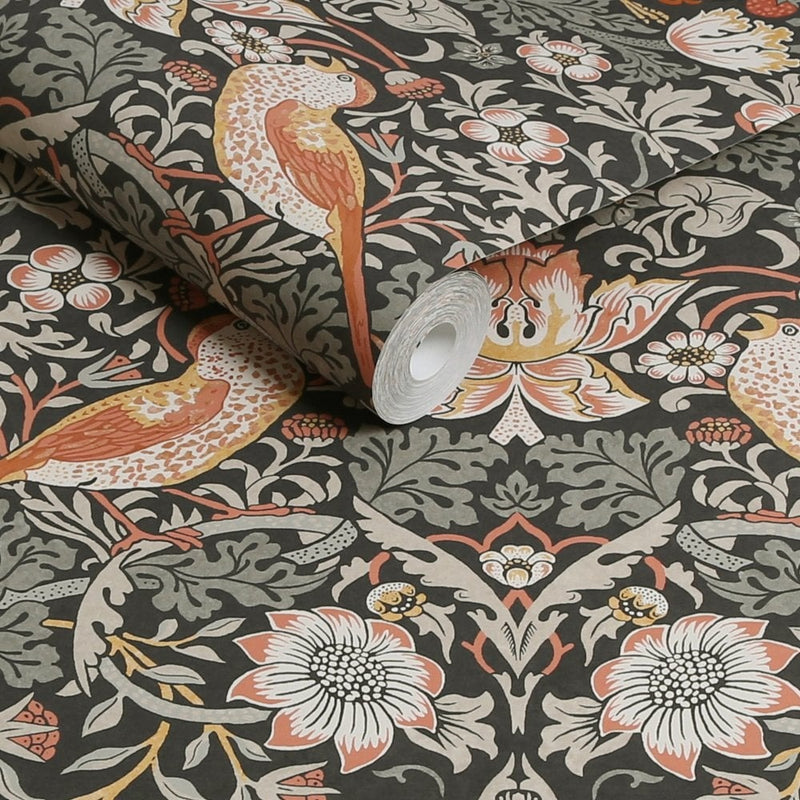
Hanging paper wallpaper: pasting the back of each strip
Supplies
Wallpaper paste suited to paper and nonwoven papers
Tool kit
Pasting table
Paste roller and roller tray
Smoothing brush / seam roller
Utility knife with snap-off blades and a straightedge
Level or laser level
Sponge and a bucket of clean water
How to hang it
- Unpack and inspect the wallpaper the day it arrives.
- Get the wall smooth and dry, and wipe away all dust. Turn off the power, take off switch plates and outlet covers, then roll on a coat of wallpaper primer.
- Look at the symbols on the label for any special instructions.
- Mark a plumb line at least 4 in out from the corner; never begin right in the corner itself.
- With a patterned paper, map out the layout first so the design lines up neatly from one strip to the next.
- Cut the strips to length, leaving an extra 2–4 in at the top and bottom.
- Roll paste evenly over the back of the strip, then book it: fold the strip onto itself so the pasted sides meet.
- Let the booked strip rest for the time stated on the label (usually 5–10 minutes) so the paper can expand evenly.
- Hang the first strip on the plumb line and press it into place with a smoothing brush, working from the center out.
- Butt the seams together; never overlap them.
- Trim cleanly at the ceiling line and along the baseboard; wipe away any paste immediately with a barely damp sponge.
- Allow 24 hours to dry at 64–72 °F, with no drafts and no excess humidity.
Care and cleaning
Paper wallpaper is a traditional, natural material, so treat it gently. Being made entirely of paper, it reacts to moisture and stains sooner than modern options like nonwoven or vinyl. Look after it well and its authentic character lasts for many years.
Light dusting: Every so often, go over the wall with a feather duster or a soft dry cloth. Stiff brushes and vacuum brush heads can scratch or roughen the paper.
No water, no cleaning products: All-paper wallpaper cannot be washed. A damp cloth or sponge may leave watermarks, raise bubbles or even release the paper from the wall.
Prevent marks: Keep wet hands and spills away from the wall. Leave a little room between the wall and any furniture or lamps, so nothing rubs against it and polishes shiny patches into the surface.
Fresh air: Good ventilation keeps temperature swings and moisture buildup in check, which helps the paper stay smooth and tight on the wall.
Give it a stable indoor climate and paper wallpaper keeps its charm and texture year after year, so the room stays fresh and lively without losing that authentic look.
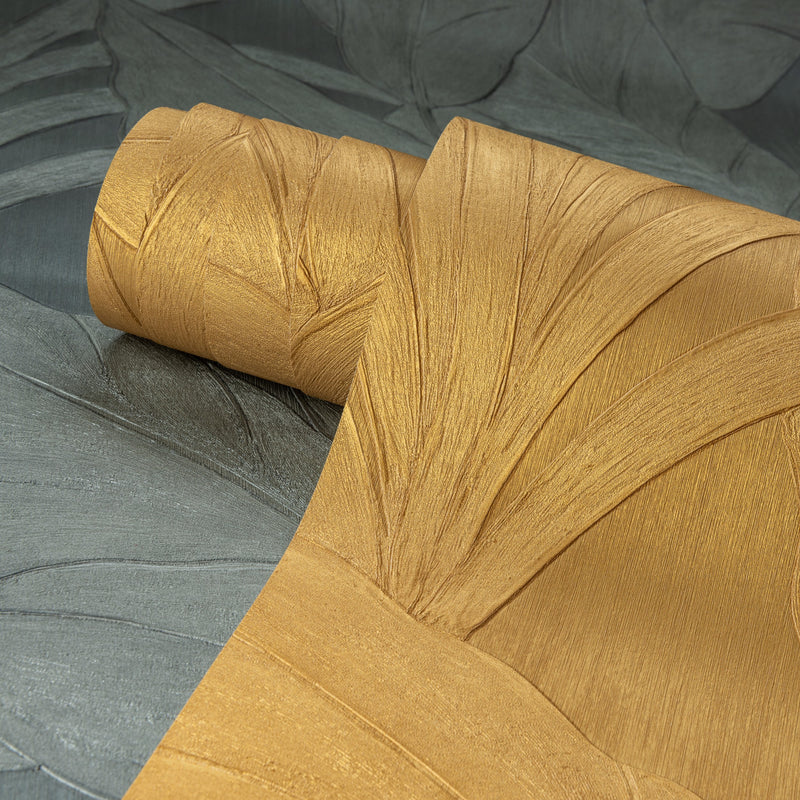
Hanging paper-backed vinyl: pasting the back of each strip
Supplies
Wallpaper primer
Paste suited to paper and vinyl wallpaper
Tool kit
Pasting table
Paste roller and roller tray
Smoothing brush / seam roller
Utility knife with snap-off blades and a straightedge
Level or laser level
Sponge and a bucket of clean water
How to hang it
- Unpack and inspect the wallpaper the day it arrives.
- Get the wall smooth and dry, and wipe away all dust. Turn off the power, take off switch plates and outlet covers, then roll on a coat of wallpaper primer.
- Look at the symbols on the label for any special instructions.
- Mark a plumb line at least 4 in out from the corner. Never begin right in the corner; account for the pattern and plan your strips carefully.
- Cut the strips to length, leaving an extra 2–4 in at the top and bottom.
- Roll paste evenly over the back of the strip and book it, folding it onto itself with the pasted sides together.
- Give the booked strip the rest time stated on the label (usually 5–10 minutes) so the paper can expand evenly.
- Trim the excess cleanly at the ceiling and the baseboard; wipe off stray paste right away and roll the seams afterward.
- Allow 24 hours to dry at 64–72 °F, with no drafts and no excess humidity.
Care and cleaning
Vinyl is a hard-wearing wallcovering that takes very little effort to maintain. Water beads off the surface, so it works well in high-traffic spots such as halls, kitchens and bathrooms. For the wall directly around a bathtub or shower, a waterproof system like the WET SYSTEM™ by Wall & Deco is the right choice.
Marks and smudges: A sponge dipped in lukewarm water and wrung out well will do. Keep cleaning agents and scouring pads away from the finish.
Mind the seams: Firm rubbing over seams and edges can scuff the top layer and leave a polished shine.
Ventilate humid rooms: Steady airflow in bathrooms and other damp spaces keeps mold from developing behind the paper.
Maintained the right way, vinyl wallpaper keeps its color and texture for years, protected by its strong top layer.
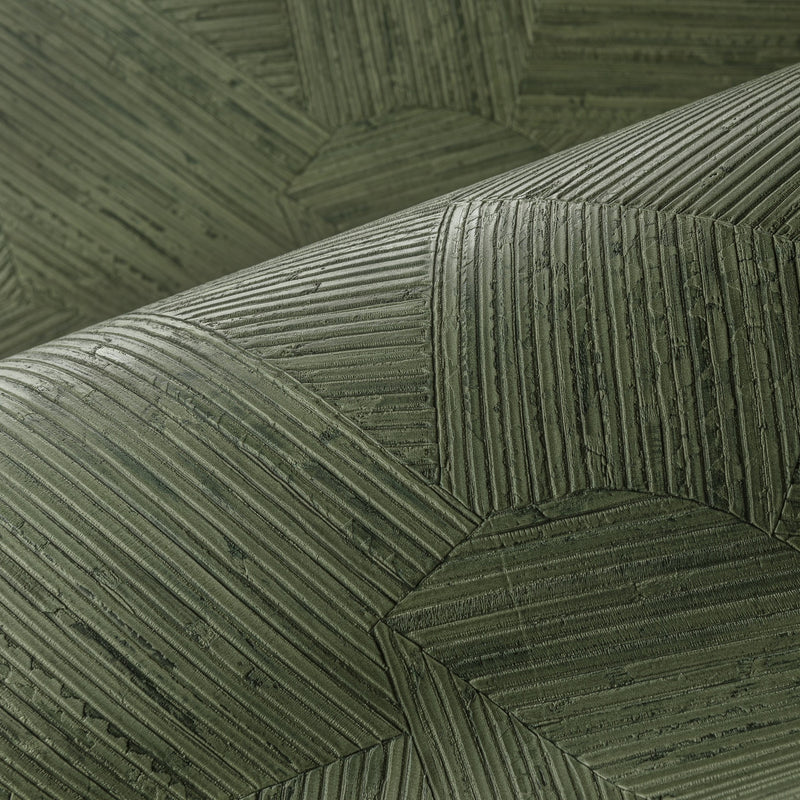
Hanging paper-backed vinyl: paste-the-wall method (alternative)
Supplies
Wallpaper primer
Paste suited to paper and vinyl wallpaper
Clean water (for wetting the back of the strips)
Tool kit
Pasting table
Paste roller and roller tray
Smoothing brush / seam roller
Utility knife with snap-off blades and a straightedge
Level or laser level
Sponge and a bucket of clean water
Spray bottle or plant mister
How to hang it
- Unpack and inspect the wallpaper the day it arrives.
- Get the wall smooth and dry, and wipe away all dust. Turn off the power, take off switch plates and outlet covers, and apply wallpaper primer if the wall is porous or chalky.
- Look at the symbols on the label for any special instructions.
- Mark a plumb line at least 4 in out from the corner. Never begin right in the corner; check where the pattern lands and plan each strip before cutting.
- Cut the strips to length, leaving an extra 2–4 in at the top and bottom.
- Wet the back of the strips evenly with clean water and stick to the soaking time given on the label.
- Roll the adhesive onto the wall in an even coat, leaving no dry patches.
- Hang the first strip against the plumb line, smooth out trapped air and butt the seams tightly.
- Trim cleanly at the ceiling and along the baseboard; remove stray paste immediately and run a seam roller over the seams afterward.
- Allow 24 hours to dry at 64–72 °F, with no drafts and no excess humidity.
Care and cleaning
Vinyl wallpaper wears well and needs little upkeep. Because the surface repels water, it suits busy spaces such as entryways, kitchens and bathrooms. In the wet zone around a tub or shower, use a waterproof system like the WET SYSTEM™ by Wall & Deco instead.
Spot cleaning: A sponge wrung out in lukewarm water is all you need. Avoid detergents and abrasive pads.
Go easy on seams: Hard rubbing on seams and edges can damage the top layer and leave glossy patches.
Ventilation: In bathrooms and other humid rooms, keep the air moving to prevent mold behind the paper.
With the right care, the color and texture of vinyl wallpaper last for years, and its strong top layer keeps the surface in good shape.

Hanging acoustic wallpaper: the paste-the-wall method
Supplies
Wallpaper primer
Heavy-duty wallpaper adhesive: Vescom V2000 used together with V3000, or another clear heavy-duty adhesive used together with its extra-strong formula.
Tool kit
Paste roller and roller tray
Smoothing brush / seam roller
Utility knife with snap-off blades and a straightedge
Level or laser level
Sponge and a bucket of clean water
How to hang it
- Unpack and inspect the wallpaper the day it arrives.
- Get the wall smooth and dry, and wipe away all dust. Turn off the power, take off switch plates and outlet covers, and apply wallpaper primer if the wall is porous or chalky.
- Look at the symbols on the label for any special instructions.
- For a patterned design, settle the layout first so the motif flows across the wall and sits symmetrically on the walls people see most.
- Mark a plumb line at least 8 in out from the corner; never begin right in the corner itself.
- Cut the strips to length, leaving an extra 2–4 in at the top and bottom.
- Roll the adhesive onto the wall in an even coat, leaving no dry patches.
- Hang the first strip on the plumb line, press it on firmly and roll out air bubbles with a soft roller.
- Butt the seams without overlapping them, and never let a seam land exactly in an inside corner. Shift it about 8 in along the wall for a clean finish.
- Trim the top and bottom cleanly at the ceiling and baseboard; wipe off excess adhesive at once with a barely damp cloth.
- Allow 24 hours to dry at 64–72 °F, with no drafts and no excess humidity.
On outside corners, switch to the extra-strong V3000 adhesive (or a comparable extra-strong formula) for a firmer hold.
Care and cleaning
Acoustic wallpaper soaks up sound and adds a soft, upscale finish to a room. Its textile or felt-like face is not hard to maintain, but it does call for a careful touch.
Everyday upkeep: Remove dust and loose particles with a feather duster, a lint roller or a vacuum with a soft brush head. If your acoustic wallcovering has a protective top coat, a barely damp cloth can be used on it.
Spills and spots: Blot them lightly with a cloth that is only just damp. Skip cleaning products and never soak the surface.
Hands off the scrub brush: Rubbing the fabric or the seams can pull fibers loose or leave patches with a different sheen.
Dust it regularly and treat it with care, and acoustic wallpaper will keep dampening sound and looking upscale for years.
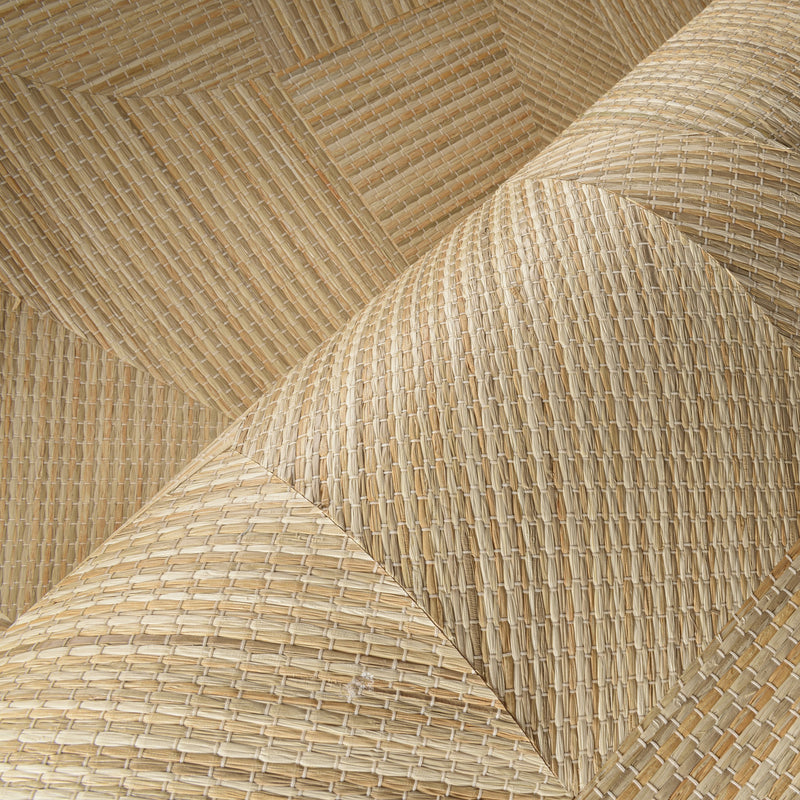
Hanging natural-fiber wallpaper: the paste-the-wall method
Supplies
Wallpaper primer
A clear, heavy-duty wallpaper adhesive
Clean water (only if the strips need extra dampening)
Tool kit
Pasting table
Paste roller and roller tray
Smoothing brush / seam roller
Utility knife with snap-off blades and a straightedge
Level or laser level
Sponge and a bucket of clean water
Spray bottle or plant mister
How to hang it
- Unpack and inspect the wallpaper the day it arrives.
- Get the wall smooth and dry, and wipe away all dust. Turn off the power, take off switch plates and outlet covers, and apply wallpaper primer if the wall is porous or chalky.
- Look at the symbols on the label for any special instructions.
- Plan the layout so the natural grain and the direction of the fibers line up well. Natural papers show their seams as a paneled effect, so space those seams evenly across the wall.
- Mark a plumb line at least 4 in out from the corner; never begin right in the corner itself.
- Cut the strips to length, leaving an extra 2–4 in at the top and bottom.
- If the material feels very stiff or thick, mist the back lightly with clean water and let it absorb for a short while; it becomes more flexible and easier to handle.
- Roll the adhesive onto the wall in an even coat, leaving no dry patches.
- Hang the first strip on the plumb line and press it on gently, without rubbing or scuffing the face.
- Seams should meet edge to edge, never overlapping, and must not end exactly in an inside corner.
- Cut off the excess at the ceiling and baseboard with a fresh snap-off blade; take any adhesive off the face straight away with a dry cloth, as moisture may cause stains.
- Allow 24 hours to dry at 64–72 °F, with no drafts and no excess humidity.
Care and cleaning
Grasscloth, sisal, raffia and jute are natural fibers, and wallpapers made from them need gentle handling. Moisture, sunlight and stains all affect them, but the right care keeps them looking good for years.
Regular dusting: Go over the wall with a feather duster or a soft, dry cloth. Damp cloths and cleaning products are off limits.
Keep it dry: Natural-fiber wallpaper can't be washed; water may stain it or cause the fibers to swell.
Ventilation: A well-aired room prevents moisture from building up.
Sunlight: Long hours of direct sun can fade the color, so limit exposure.
Bumps and scrapes: Place furniture and accessories thoughtfully; a sharp edge can damage the surface.
With very little upkeep, a natural wallcovering holds on to its warm, characterful look for years.
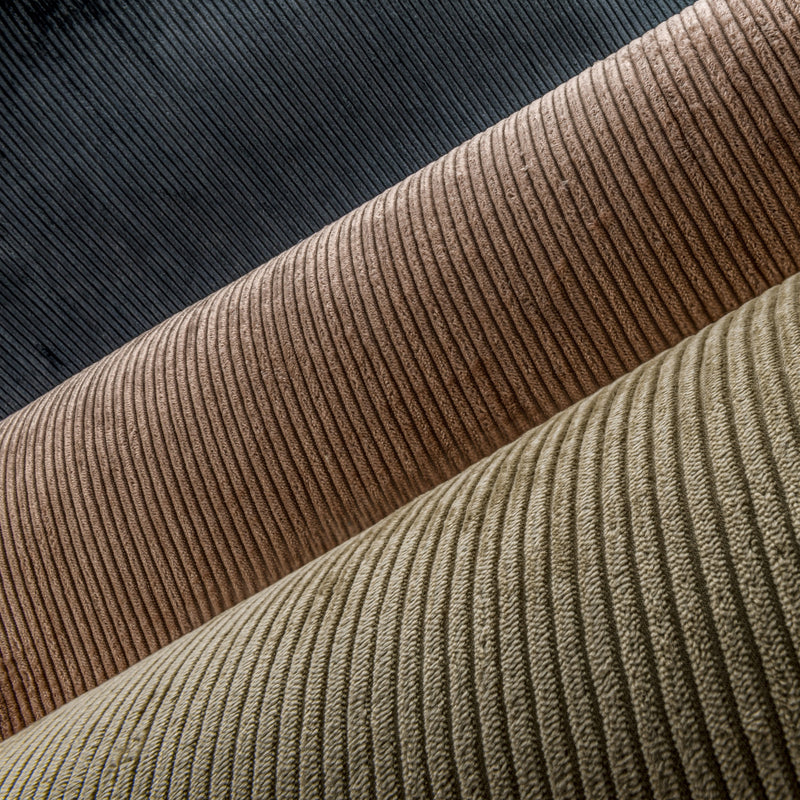
Hanging textile wallpaper: the paste-the-wall method
Supplies
Wallpaper primer
Heavy-duty wallpaper adhesive that dries clear
Clean water (if the strips need a little extra dampening)
Tool kit
Paste roller and roller tray
Smoothing brush / seam roller
Utility knife with snap-off blades and a straightedge
Level or laser level
Sponge and a bucket of clean water
How to hang it
- Unpack and inspect the wallpaper the day it arrives.
- Get the wall smooth and dry, and wipe away all dust. Turn off the power, take off switch plates and outlet covers, and apply wallpaper primer if the wall is porous or chalky.
- Look at the symbols on the label for any special instructions.
- Work out a layout plan that spaces the seams evenly across the wall.
- Mark a plumb line at least 8 in out from the corner; never begin right in the corner itself.
- Cut the strips to length, leaving an extra 2–4 in at the top and bottom.
- Heavy or stiff material? Mist the back lightly with clean water and give it a short while to absorb, so it turns more supple and easier to work with.
- Roll the adhesive onto the wall in an even coat, leaving no dry patches.
- Hang the first strip on the plumb line, press it on gently and work air bubbles out from the center toward the edges.
- Unless the label says otherwise, seams meet edge to edge with no overlap, and none of them should end exactly in an inside corner.
- Trim the excess at top and bottom with a sharp snap-off blade, and lift any adhesive off the face right away with a dry cloth; moisture may leave stains.
- Allow 24 hours to dry at 64–72 °F, and keep drafts, humidity and direct sunlight away from the wall.
Care and cleaning
Textile wallpaper turns a wall into a soft, tactile surface and brings warmth and refinement to a room.
Routine dusting: Reach for a feather duster, a dry microfiber cloth or a vacuum with a soft brush head.
Stay away from water: Fabric wallcoverings are not washable, and water or cleaning products can stain or discolor them.
Accidental marks: Dab ever so lightly with a dry cloth. Rubbing can damage the fibers or leave patches with a different sheen.
Fresh air: Good ventilation keeps moisture from accumulating in the room.
Shade from the sun: Long exposure to direct sunlight can fade the fabric or weaken it, so keep it to a minimum.
Stick to dry cleaning methods and textile wallpaper stays refined for years, with a fabric that remains soft and even.
Wallpaper installation FAQ
First things first: go through the installation guide included with your wallpaper carefully before you begin.
What kind of paste does nonwoven wallpaper need?
Choose an adhesive made for nonwoven wallpaper, ideally a clear heavy-duty type. If the wall is porous or chalky, apply a wallpaper primer before you paste.
Is it OK to end a seam in an inside corner?
Better not. A corner is rarely a true 90°. Stop each seam at least 4 in short of a corner, and at least 8 in short with heavier wallcoverings like acoustic or textile, so the paper can't lift there or open into a visible gap.
Is a latex-painted wall a good base for wallpaper?
Yes, as long as the paint is sound, the wall is flat, and the surface is clean and dry. Degrease it, give it a light sanding and, if you have any doubt, apply a wallpaper primer for better adhesion.
Is a corner a good place to hang the first strip?
Corners are rarely straight. Start there and your first strip can go on at a slant, and the error will show along the wall. Begin instead on a plumb line at least 4 in from the corner (at least 8 in for heavier materials like acoustic or textile wallpaper), and your strips will hang straight with a clean finish.
Why plan the layout before you hang the first strip?
For a patterned wallpaper, and for natural or textile wallpaper, you work out beforehand how the design will be spread over the wall. That way the pattern sits well on the walls people see, instead of partly disappearing into a corner. With natural and textile papers, a plan also lets you space the seams evenly across the wall, which gives a calmer overall look.
How warm and how humid should the room be when I hang wallpaper?
Aim for 64–72 °F and a relative humidity of about 40–60%. Keep drafts, direct sun and heat sources such as heating vents away from the wall. Close windows and doors while you paste, and give everything 24 hours to dry.
Any tips for hanging a plain wallpaper with no pattern?
Without a pattern, cutting is simple: there's no repeat or match to line up, so each strip is the height of the wall plus 2–4 in, and you end up with almost no offcuts. Look at the label symbols before you start, though. Manufacturers of many plain and textured papers want every other strip hung upside down, a technique called 'reverse hanging' (explained in the reverse hanging question). Only use rolls that share one batch number (dye lot), and think about how light falls in the room, so small tone differences between strips stay invisible.
My wallpaper label shows an up arrow next to a down arrow. What does 'reverse hanging' mean?
With reverse hanging, you rotate every second strip by 180°, so it goes on the wall upside down. Strip 1 hangs the usual way, strip 2 is turned, strip 3 is back to normal, and you keep alternating. The label shows this with a symbol of two arrows facing opposite ways, one up and one down. It's mostly specified for plain and textured papers: production can leave a very slight variation in color or sheen between the left and right edge of a roll. By alternating the strips, matching edges always end up side by side, and no shading appears at the seams. As you cut, write on the back of each strip which end is the top.
What's the best way to remove wallpaper?
Start by soaking the old paper with warm water, plus a wallpaper stripper solution for stubborn areas, and wait for it to loosen. A putty knife then lifts it from the wall. With nonwoven wallpaper you can often skip the water and peel it off dry, depending on the type and the surface underneath.
Is a bathroom too humid for wallpaper?
Not if you choose the right type. In spots that only catch an occasional splash, a washable vinyl does the job. Directly around a tub or shower you need a waterproof system, for example the WET SYSTEM™ by Wall & Deco. Browse the designs that work in humid rooms in our bathroom wallpaper collection.
What does it mean when wallpaper comes untrimmed?
Certain exclusive wallpapers are shipped 'untrimmed'. Along the sides of each strip runs a blank white margin, called the selvage, which shields the printed design while it is produced and shipped. You remove it before hanging by cutting it off cleanly on a pasting table, and only then will the strips meet edge to edge without a gap. Because this calls for precision and a steady hand, we suggest having an experienced local paperhanger do the trimming.
Should the baseboards go in before or after the wallpaper?
Baseboards first: install them and caulk them, then hang the wallpaper. You can then trim the paper neatly along the top of the baseboard and never need to apply caulk over finished wallpaper, which could stain or damage it. A bonus for later: switching to a new wallpaper won't involve the baseboards at all.
Still have a question? Email us and we'll help you out.
Planning your project?
Use our calculator to find the number of rolls for your room (one roll from us equals one American double roll), or see how a design looks in your own room using the Wallpaper Room Visualizer.
